

After you use Migration Assistant to transfer to a new Mac, there are a few things to do or check on. This list is by no means comprehensive as it changes depending on what software you are moving from, what software you are moving to, how you currently have your computer configured, and even the specific model of computer you are moving to.
These instructions are assuming that you are migrating to the latest version of macOS 26 Tahoe, as you are typically going to be (or should be) running the latest software on your new Mac. I will try to keep these instructions updated each fall as new Mac software is released.
Any of these options can be changed afterward, so if you have questions about them, go ahead and make your best choice and make note of what you selected. We can review it later. Take a photo with your phone if that's easier.
Typical Setup Questions

Accessibility. Most people can choose "Not Now". If you do use these features you are already familiar with them so feel free to set them up. You can make adjustments to these settings later in Apple menu > System Settings > Accessibility.

Data & Privacy. There is nothing to choose here except to click "Continue". This screen is for informational purposes, letting you know that Apple collects as little information about you as possible.
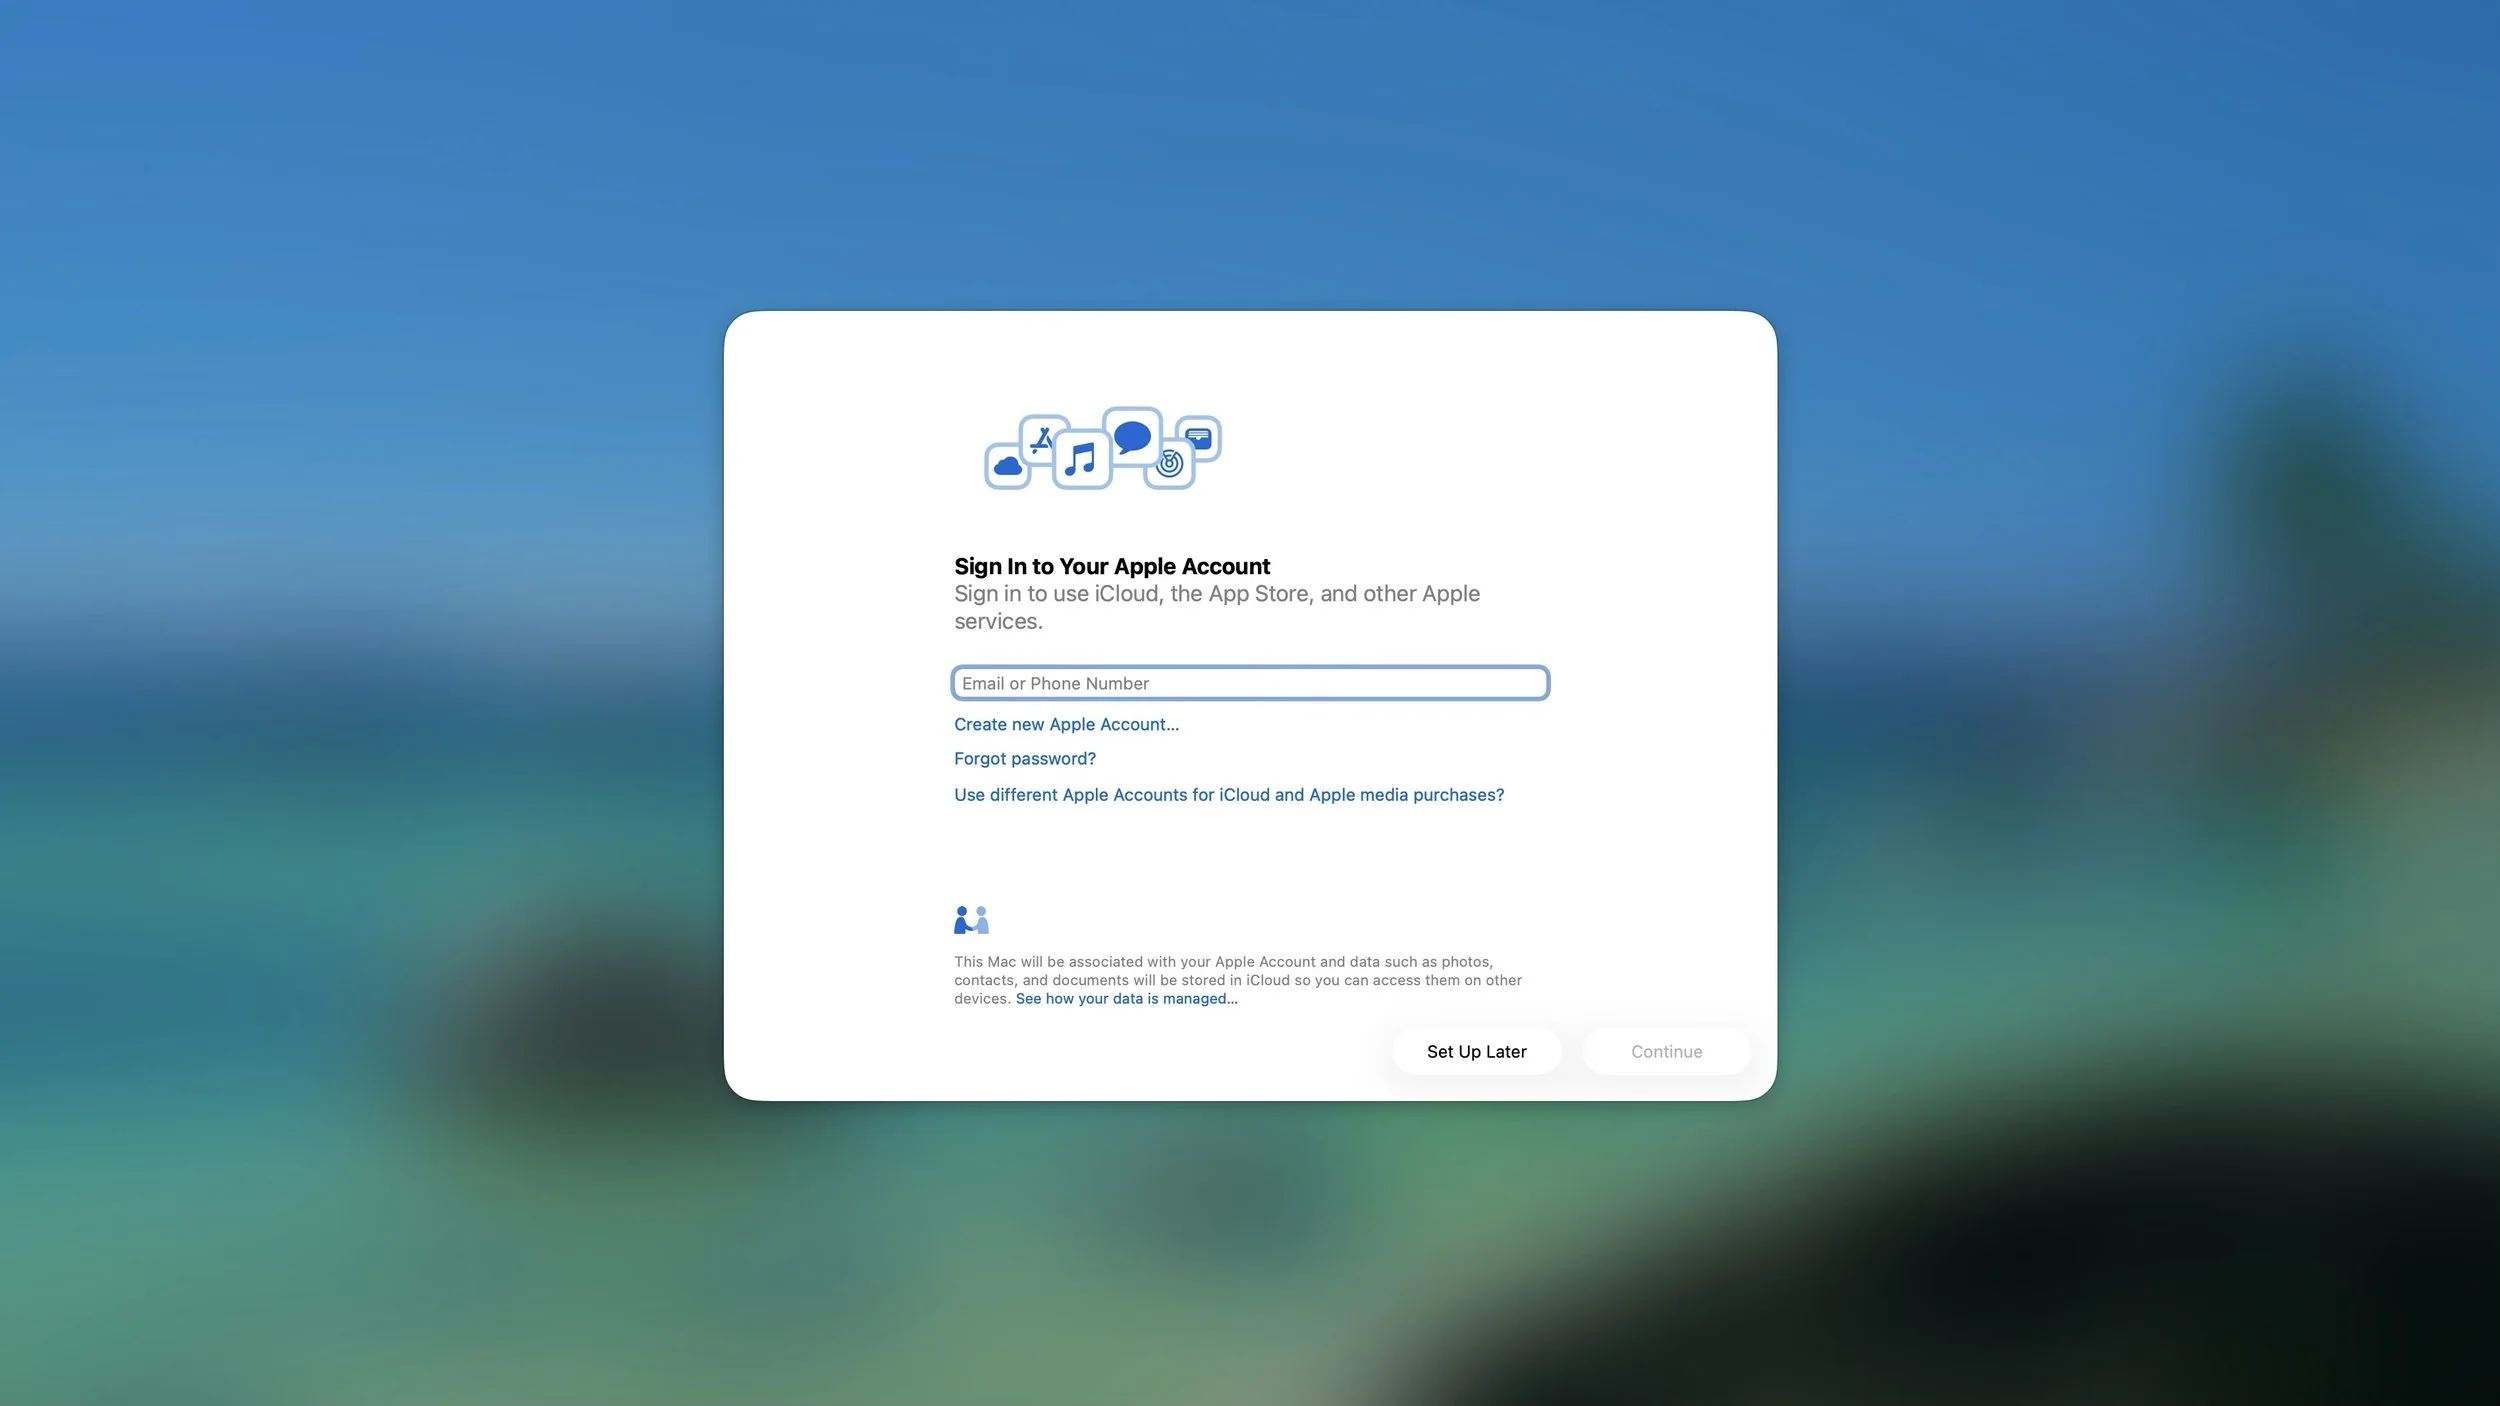
Sign in with your Apple Account if you use one. 99% of Apple users do, especially if you have multiple Apple products. This relates to iCloud, the iTunes Store, and the App Store. If you already have an Apple ID set up on your old computer, your new computer should have your email address filled in, and you just have to input your password. You can make adjustments to your iCloud settings later in Apple menu > System Settings > click your name.
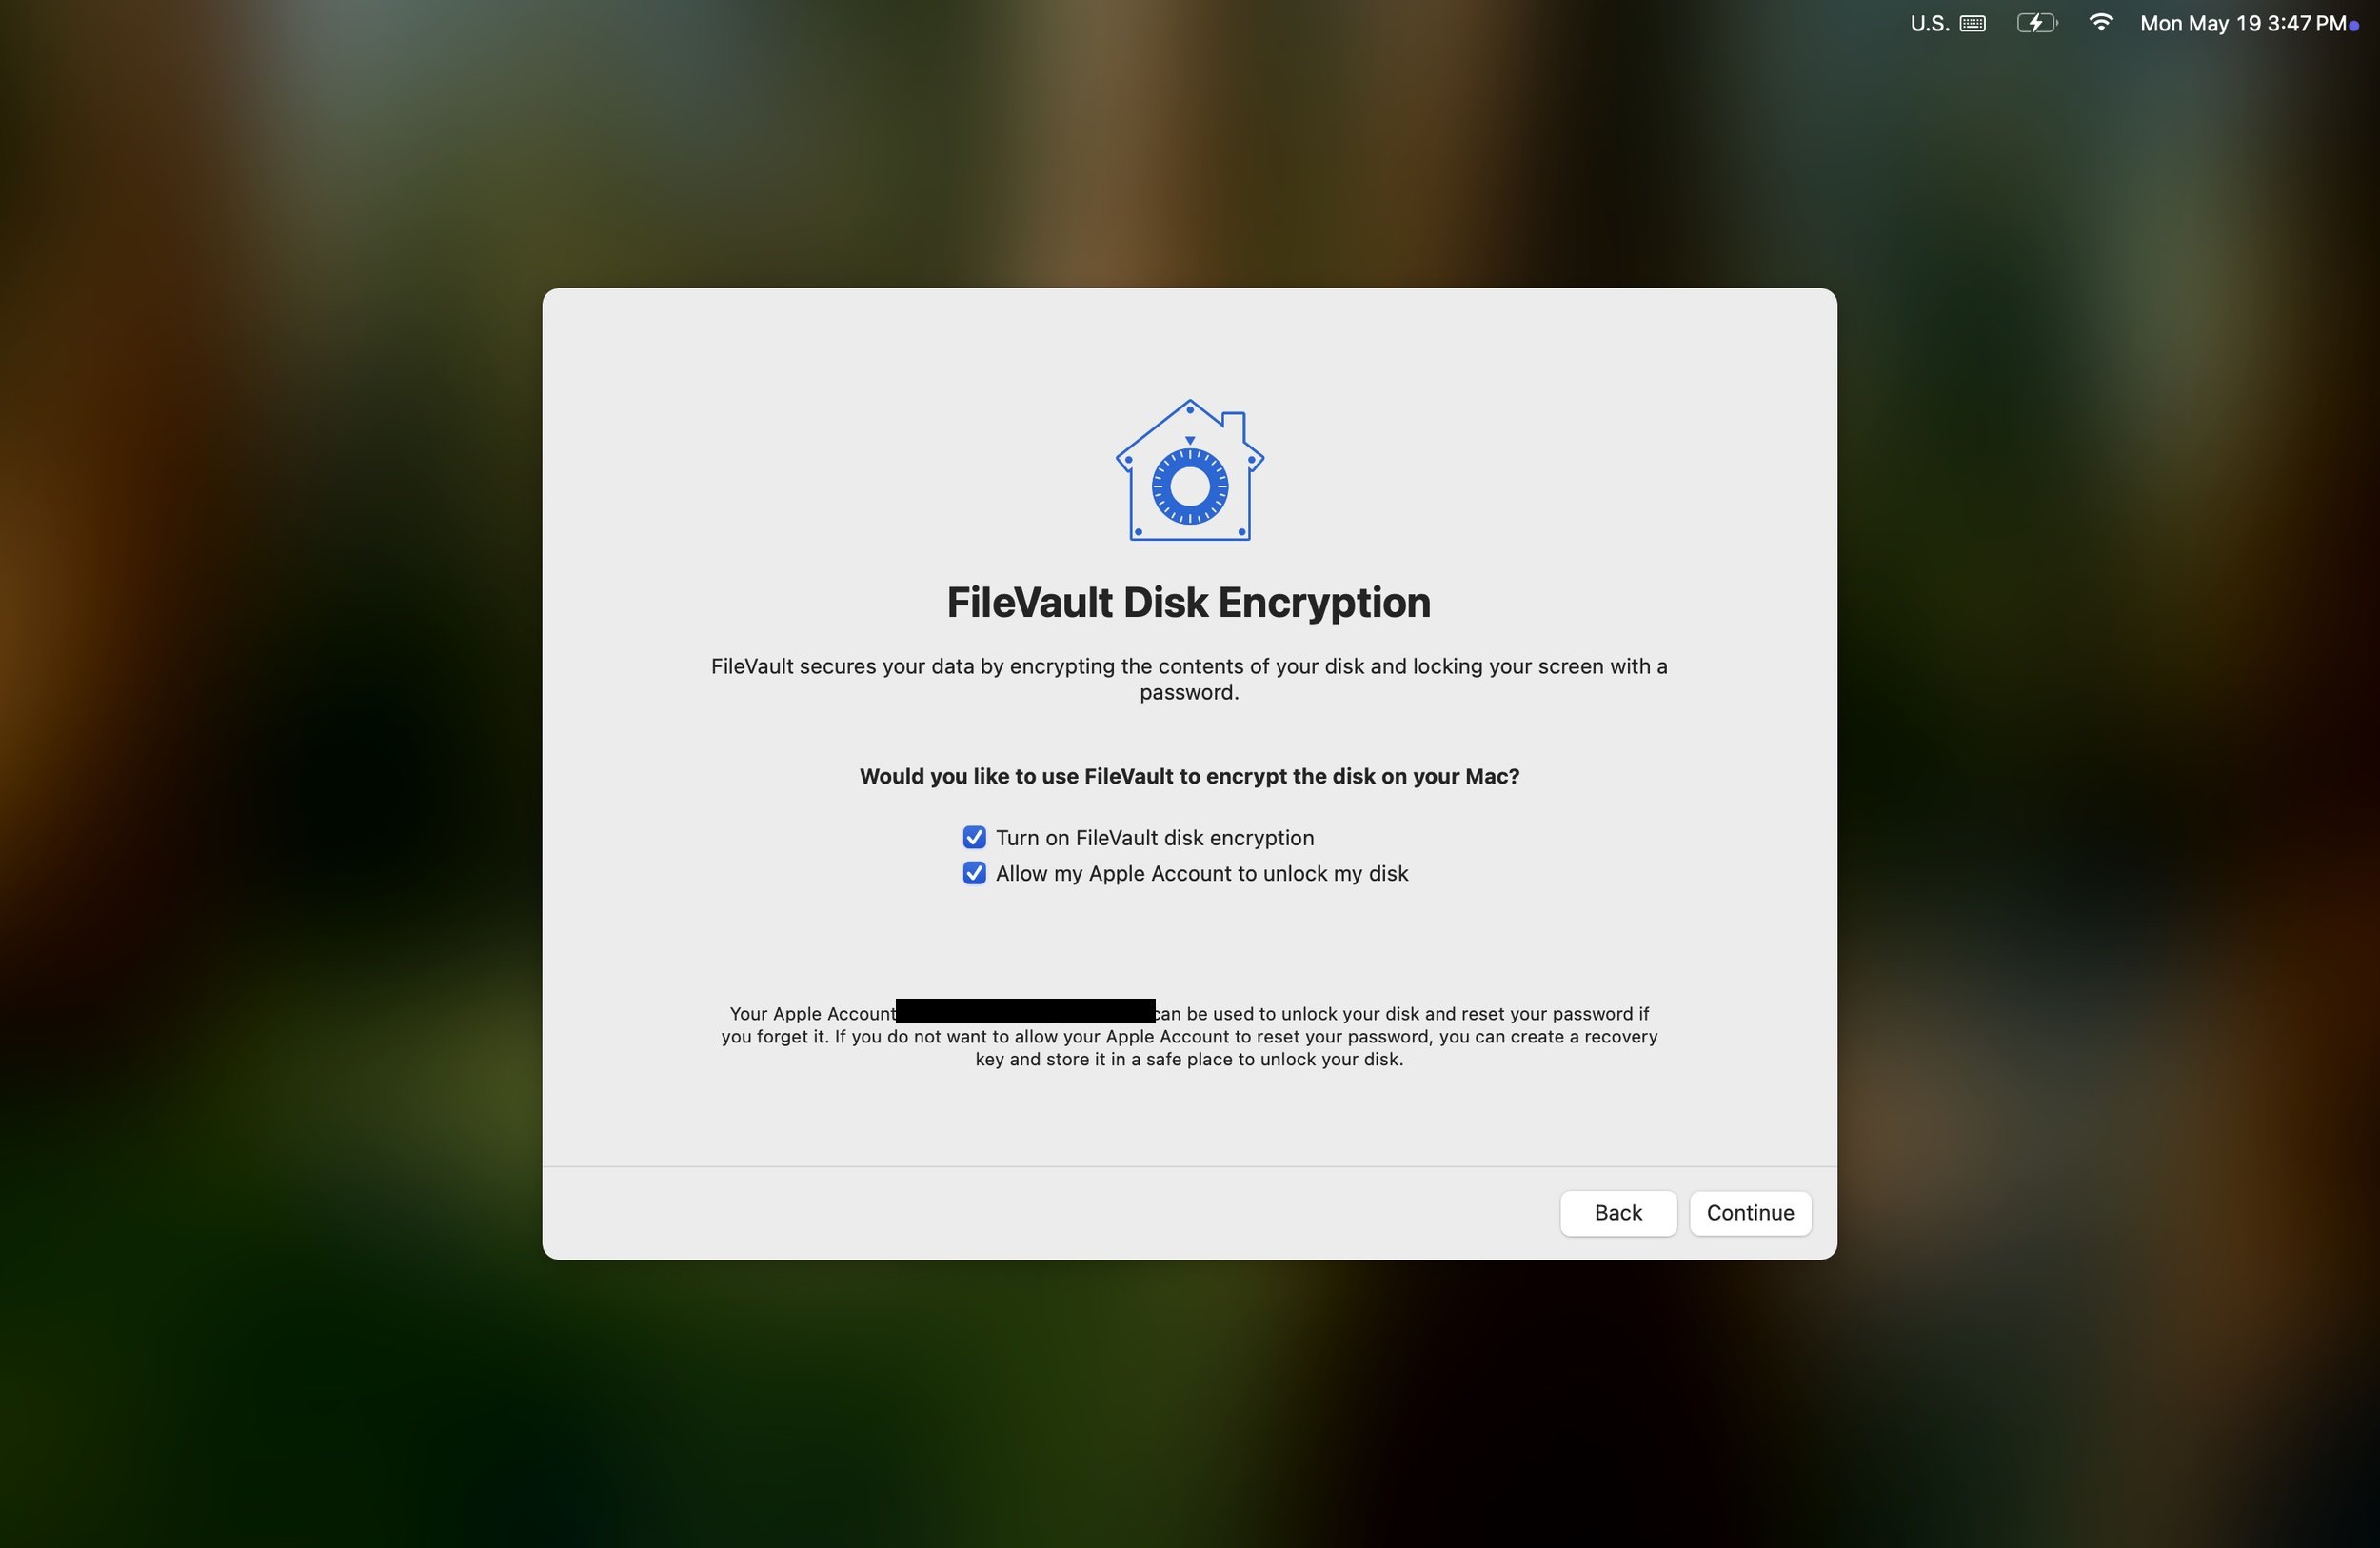
FileVault. I recommend you enable this feature. Without it, anyone who steals your computer can easily bypass your password and gain access to your files, photos, etc. You can set this up later or make adjustments in Apple menu > System Settings > Privacy & Security > FileVault. For more details, you can read the blog post I wrote about it.
Touch ID. I recommend enabling this feature. It makes entering your password much easier, and it helps to prevent someone from getting your password by looking over your shoulder. This data is not stored on your computer's drive, it is not stored in your backup, and it is not shared with Apple. It lives just in the fingerprint chip. You can set up as many as five fingerprints per computer in case you are sharing it with someone else. And if your fingerprint isn't working, you can always use your login password instead. You can set this up later or add additional fingerprints in Apple menu > System Settings > Touch ID & Password. Or head there to remove your fingerprints if you find that it’s not working well for you and just gets in the way. If your fingers are dry they can’t conduct electricity well (gardeners and dish hand-washers, I’m looking at you).
Some notes about setting up Touch ID: If your computer has Touch ID, the sensor is not on the screen. It is the unmarked key in the upper right corner of your keyboard. When they ask you to touch it, you do not click it. They call it Touch ID because you just touch it. Clicking the button is for turning your computer on or off.

Apple Intelligence is available for all Mac models since late 2020. You may have heard that it was underwhelming. But that’s no reason not to turn it on. The fact that it doesn’t do a whole lot means that it also doesn’t hurt much. The complaint isn’t that it’s low quality as much as it doesn’t add a whole lot. There is hope that it will get more powerful as time goes by and Apple adds features, but it sounds like they panicked and didn’t want to get left behind, releasing some very weak features. Generally, I’d recommend clicking “Set Up Apple Intelligence”. There are no options to consider, it’s just the one button to turn it on.
If you want to adjust any settings or turn it on or off later, you can do that in the Apple menu > System Settings > Apple Intelligence & Siri.
Apple Pay. If you use Safari, it may be worth setting up. Otherwise, you may just want to skip this with the “Set Up Later” button. You can always revisit this in the Apple menu > System Settings > Wallet & Apple Pay.
For the uninitiated, Apple Pay is a system that allows you to store your credit and debit cards on your Apple devices. This is not signing up for a new line of credit (that’s another thing called Apple Card); you simply add your existing cards to Apple Wallet. All major banks and even most small banks and credit unions are supported. Stored cards cannot be used without authentication (except for transit) and the number cannot be seen, so they are more secure than physical cards. On your iPhone, it makes more sense: you can use Apple Pay at many physical stores and within some apps. It’s less useful on Mac, but it does allow you to pay on some websites if you use Safari. This is easier and more secure than using your card number, because your actual card number never actually gets sent to the merchant. They get a token which only they can use, so if their website gets hacked, the hackers do not get your payment information.
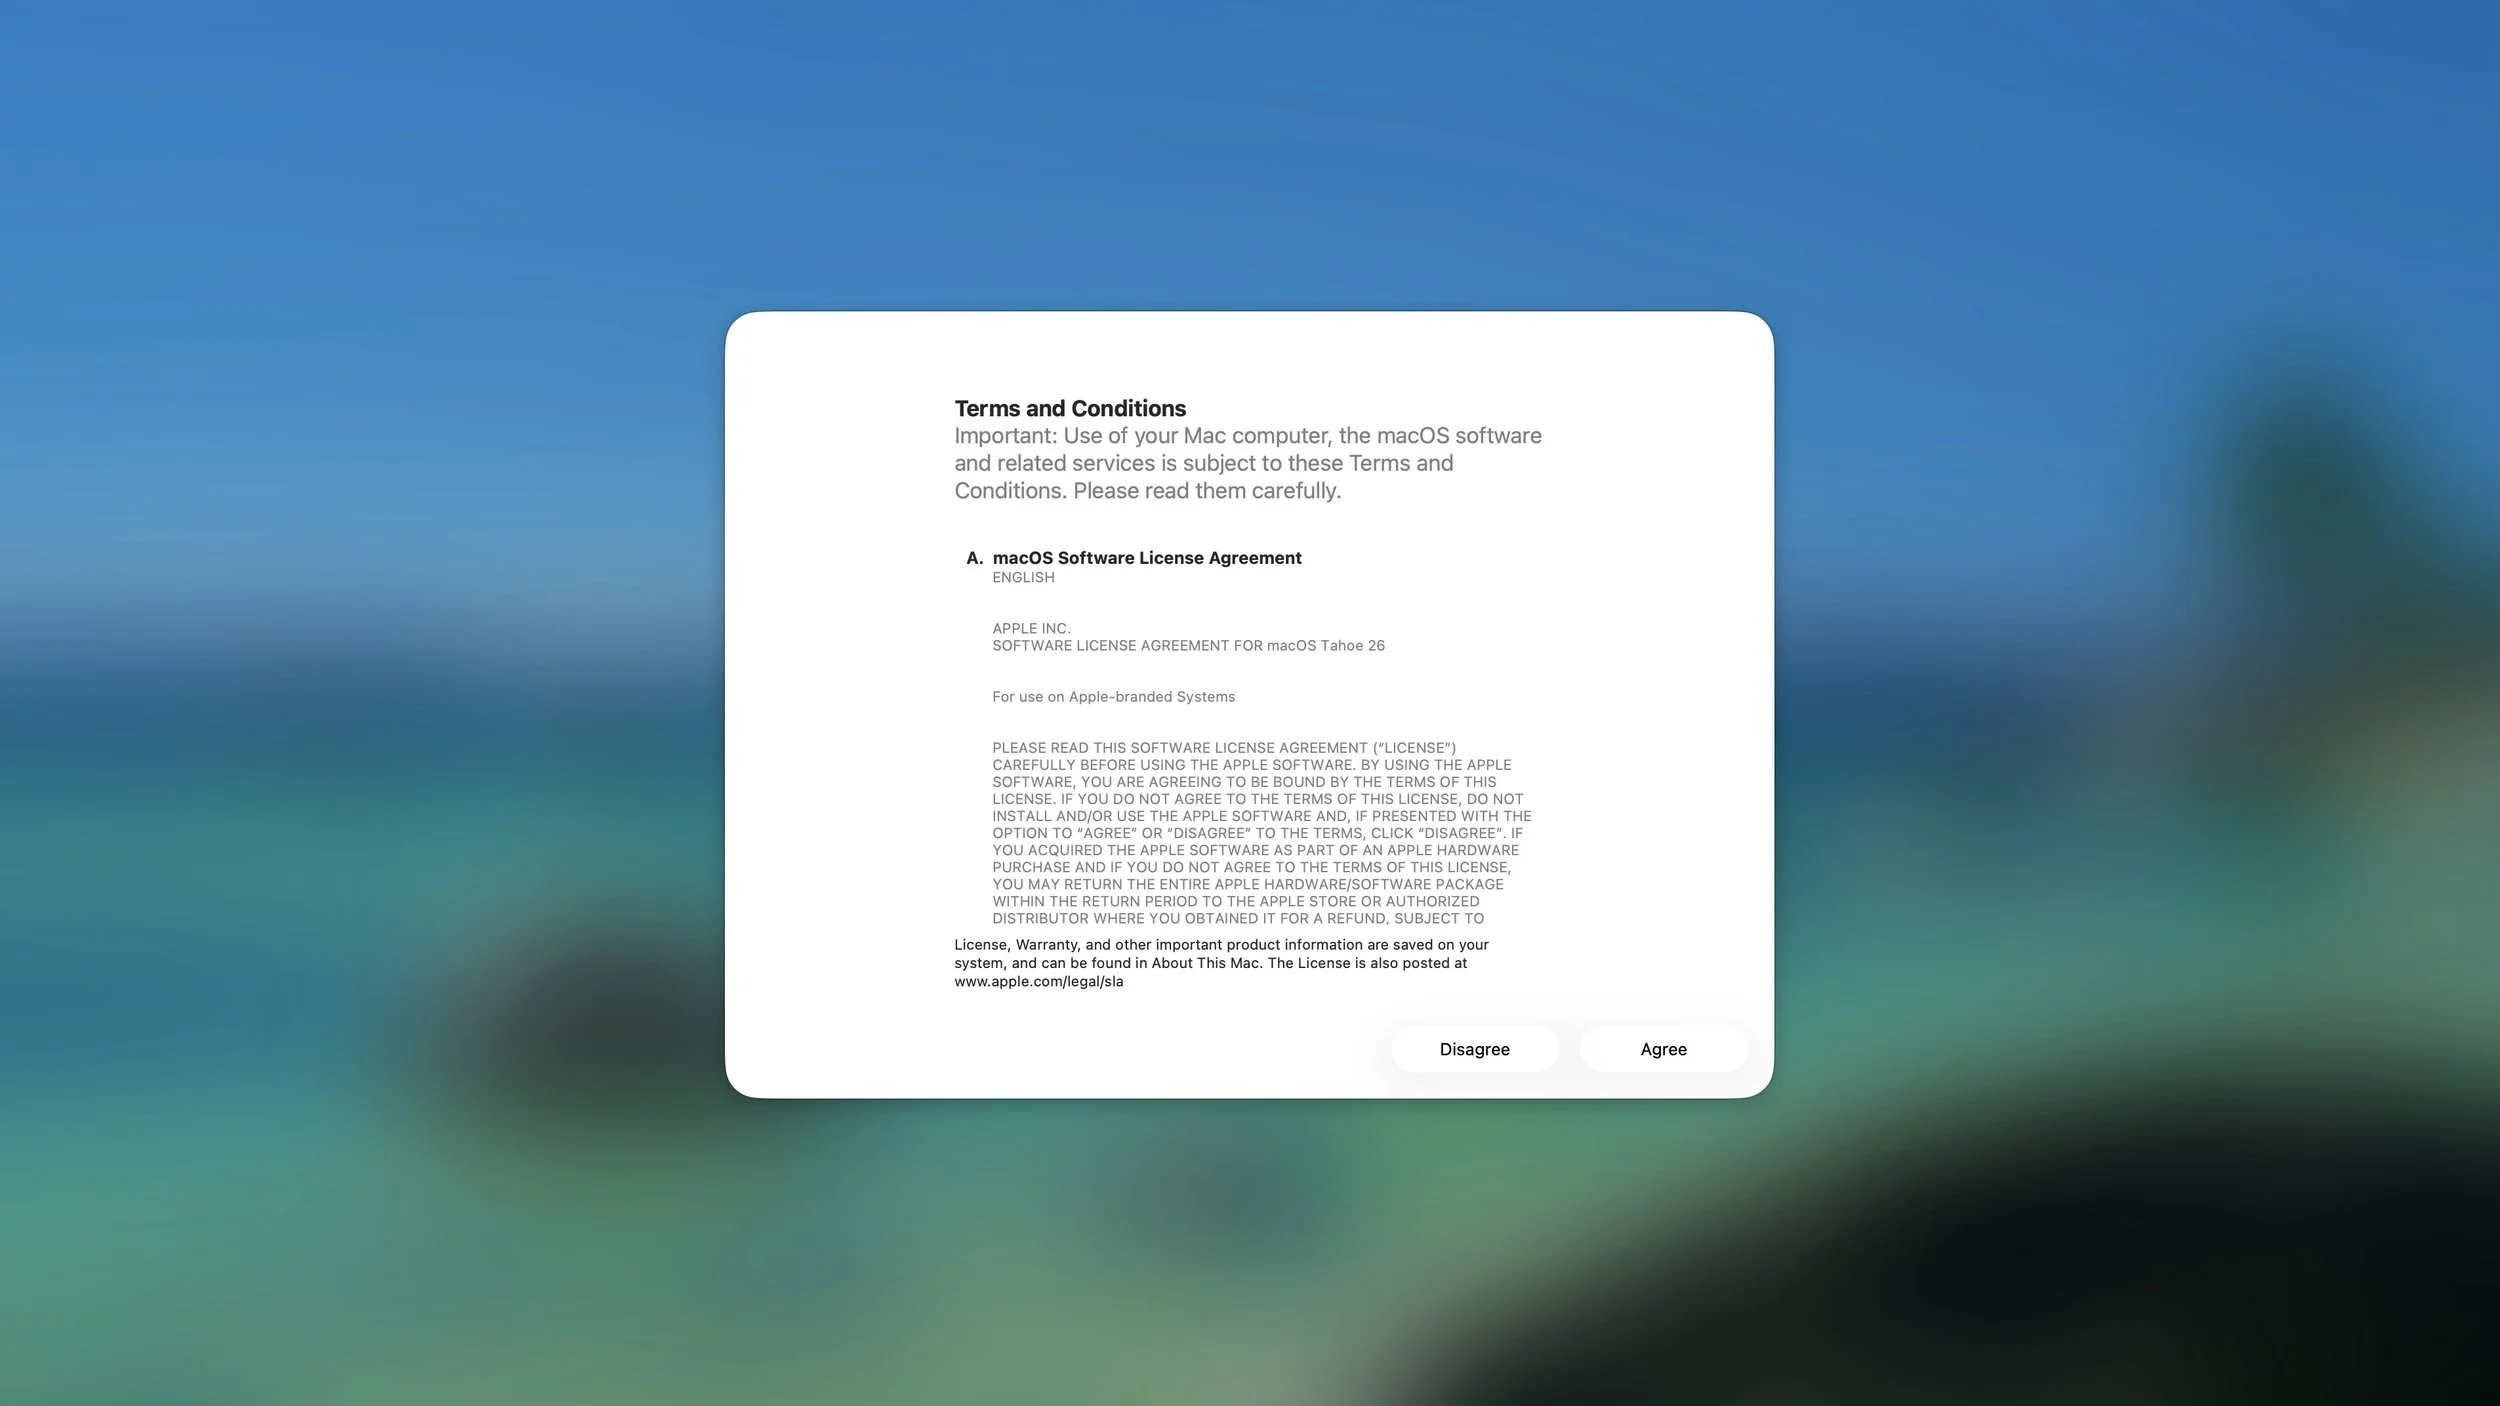
Terms and Conditions. Of course, you have to agree to the Terms and Conditions to proceed. Basically, it's the same as just about any T&C: Apple is not responsible for losses and damages if anything goes horribly wrong, and Apple does not own what you create using their software.
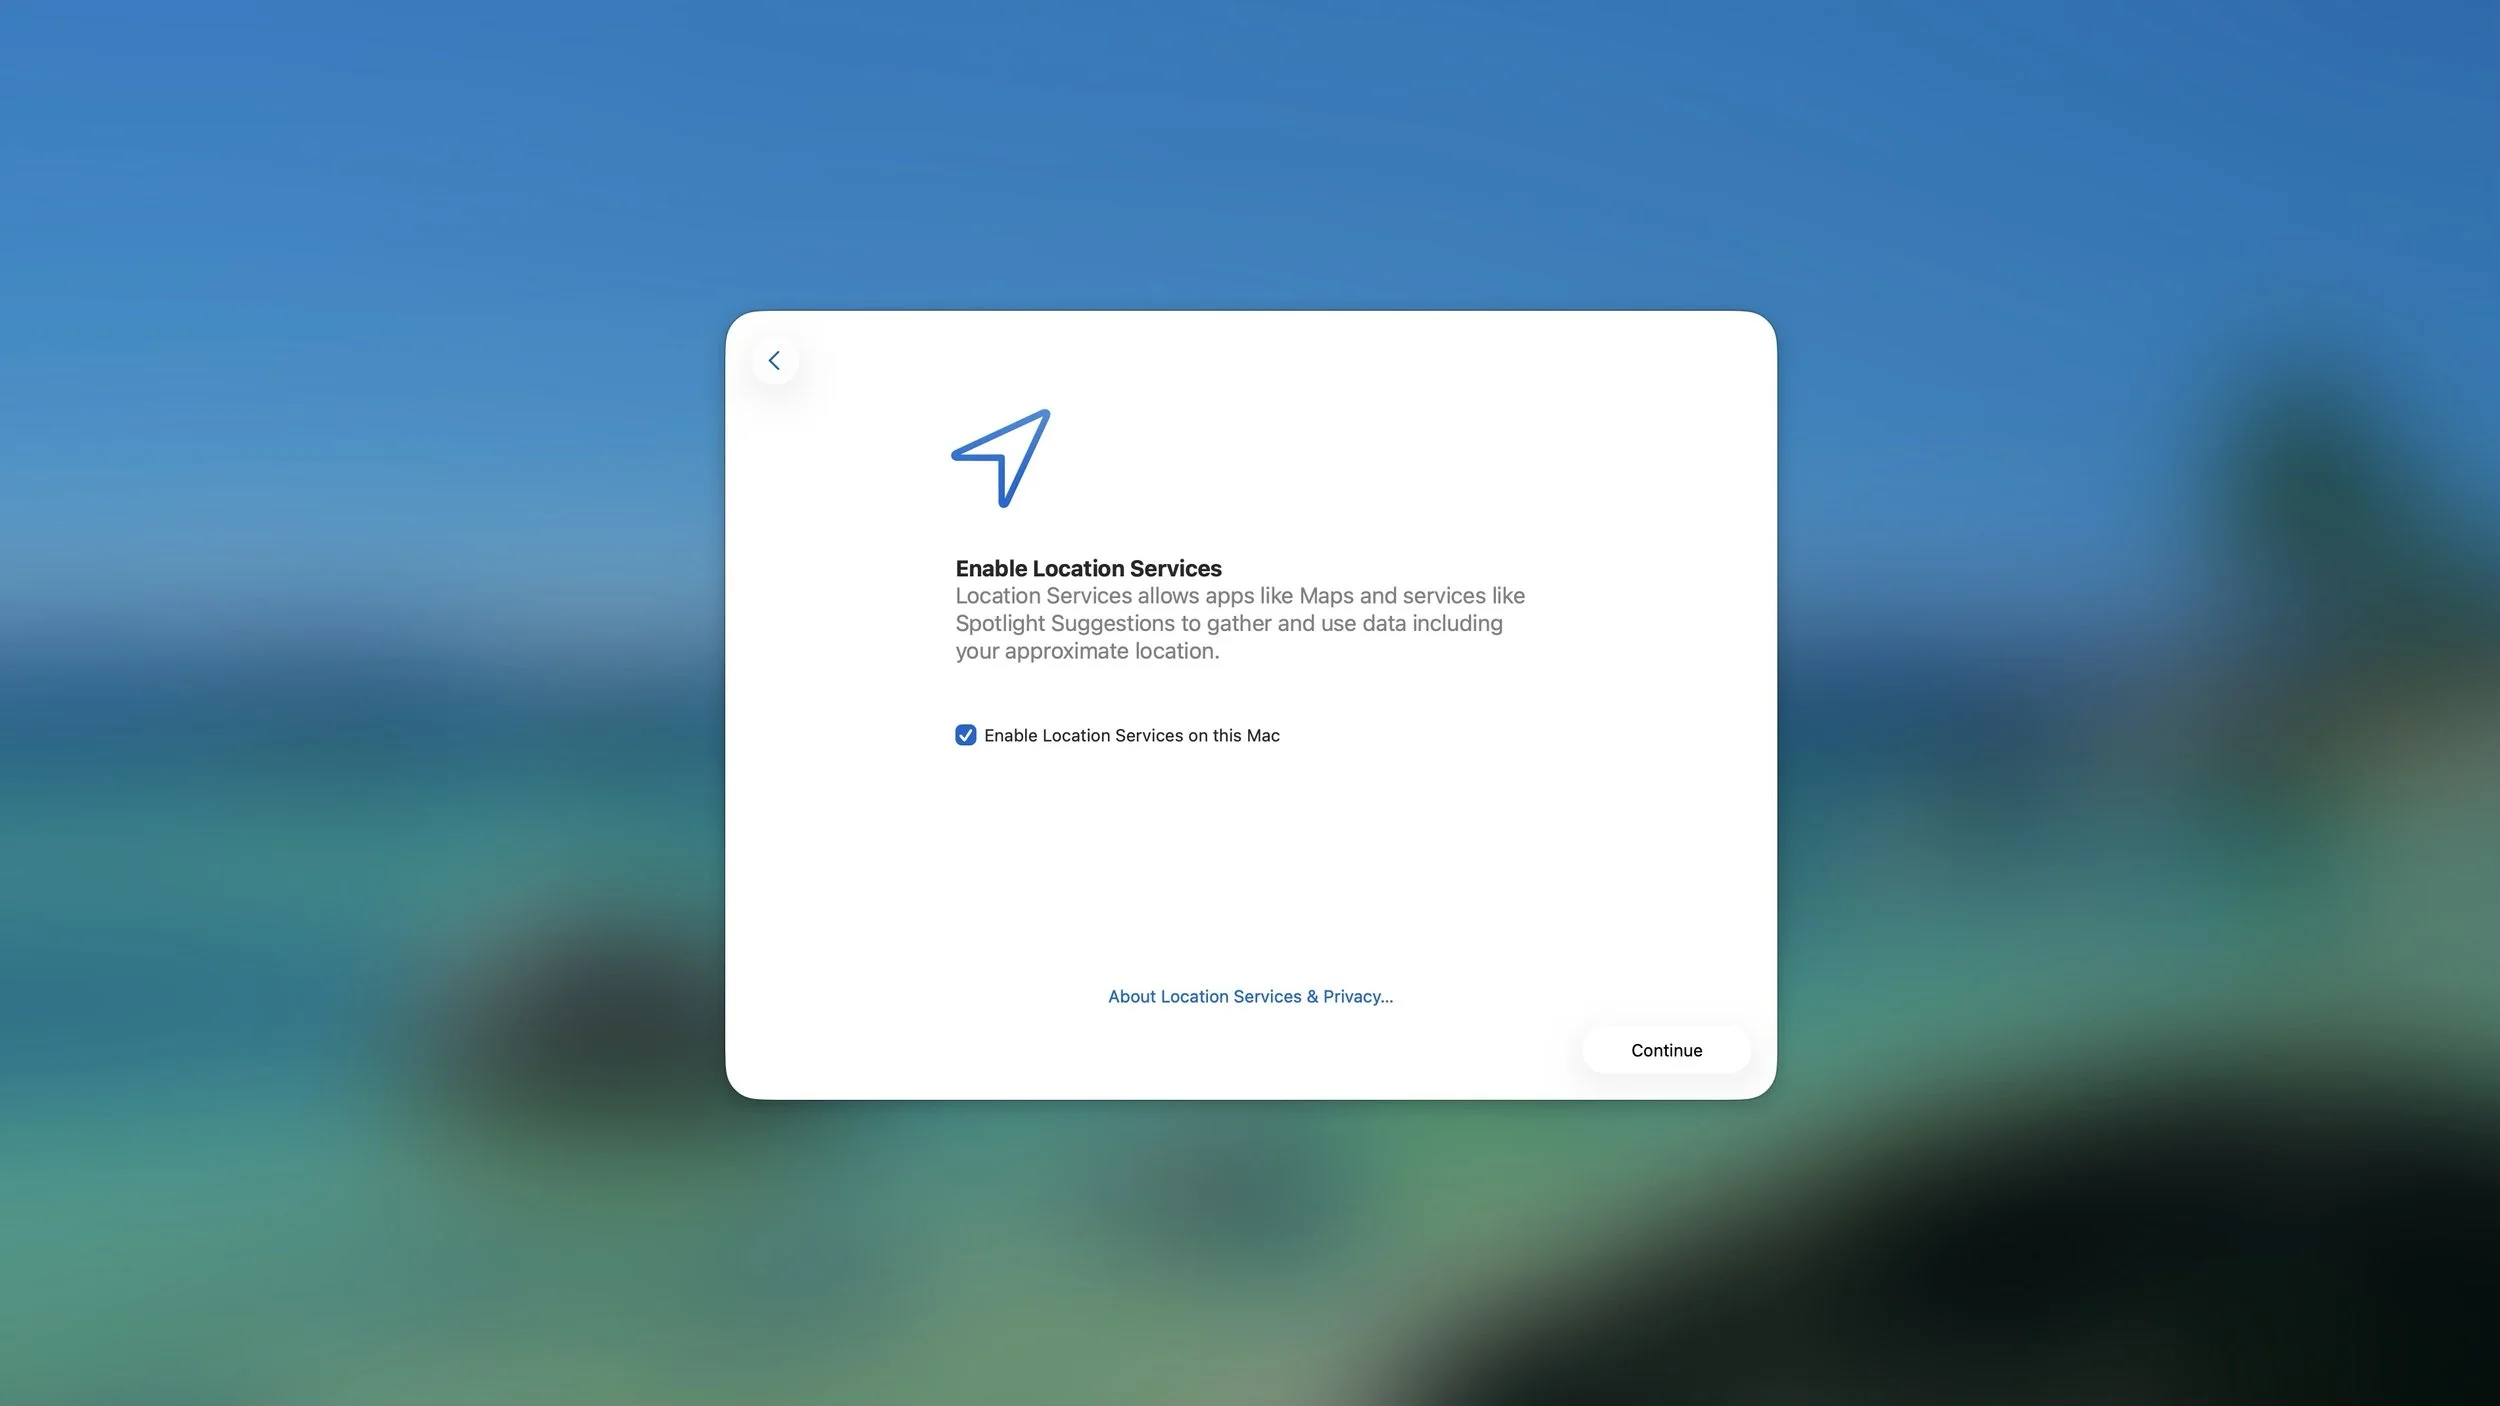
Enable Location Services. I strongly recommend enabling location services. Without it, Find My Mac will not function. This feature allows your Mac to know where it is. If individual apps or websites want to know where your Mac is, they have to ask individually later. This can be adjusted later (including access for individual apps) in Apple menu > System Settings > Privacy & Security > Location Services.
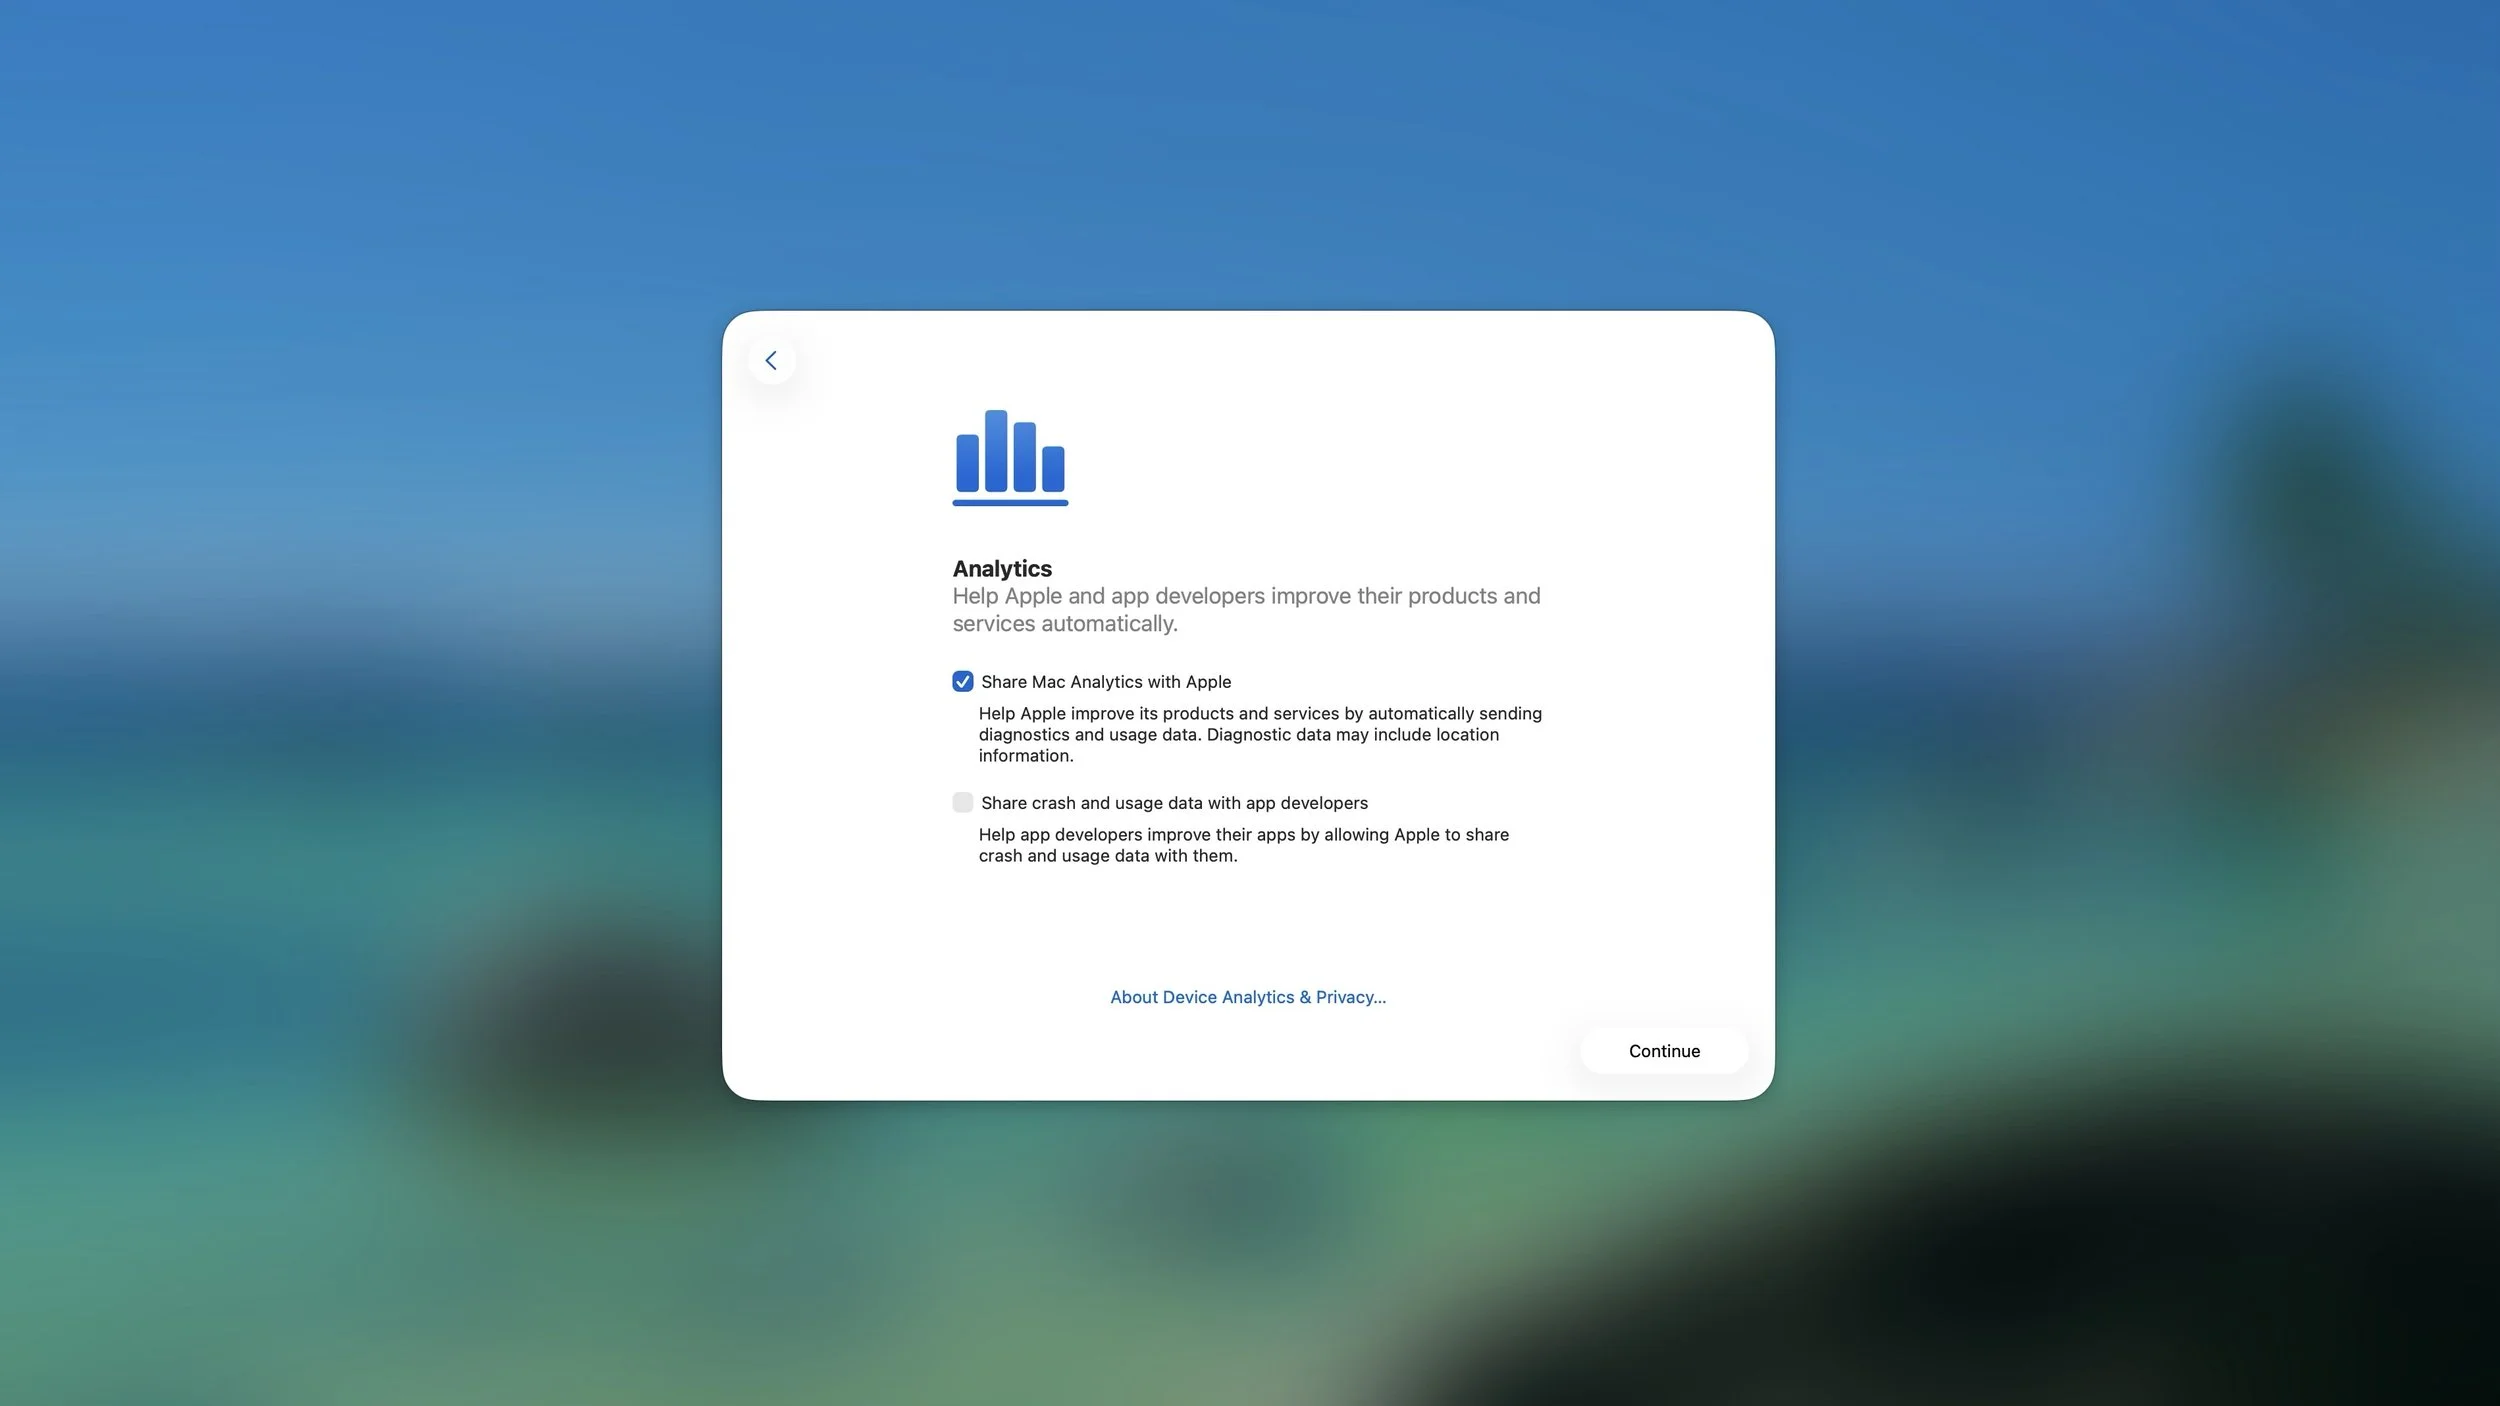
Analytics. This lets you choose whether your computer shares anonymized usage and crash data with Apple or with third-party software developers. This doesn't affect how your computer works, but it can help future versions of software work better. In general, I recommend you have this on. If you have extremely sensitive information, such as a doctor who has patient information, I recommend you turn these options off. But you should make your own decision based on your comfort level. You can change this later in the Apple menu > System Settings > Privacy & Security > Analytics & Improvement.

Screen Time tracks how long you are using what apps and websites. This can be useful to put limits on children (or yourself!) or to understand how much you use your computer. To enable it click "Continue". To disable it choose "Set Up Later". You can configure specific settings in System Preferences. If you choose "Continue" you will not be asked to make any choices, it will just track your usage for you. You can make adjustments to this later in Apple menu > System Settings > Screen Time.
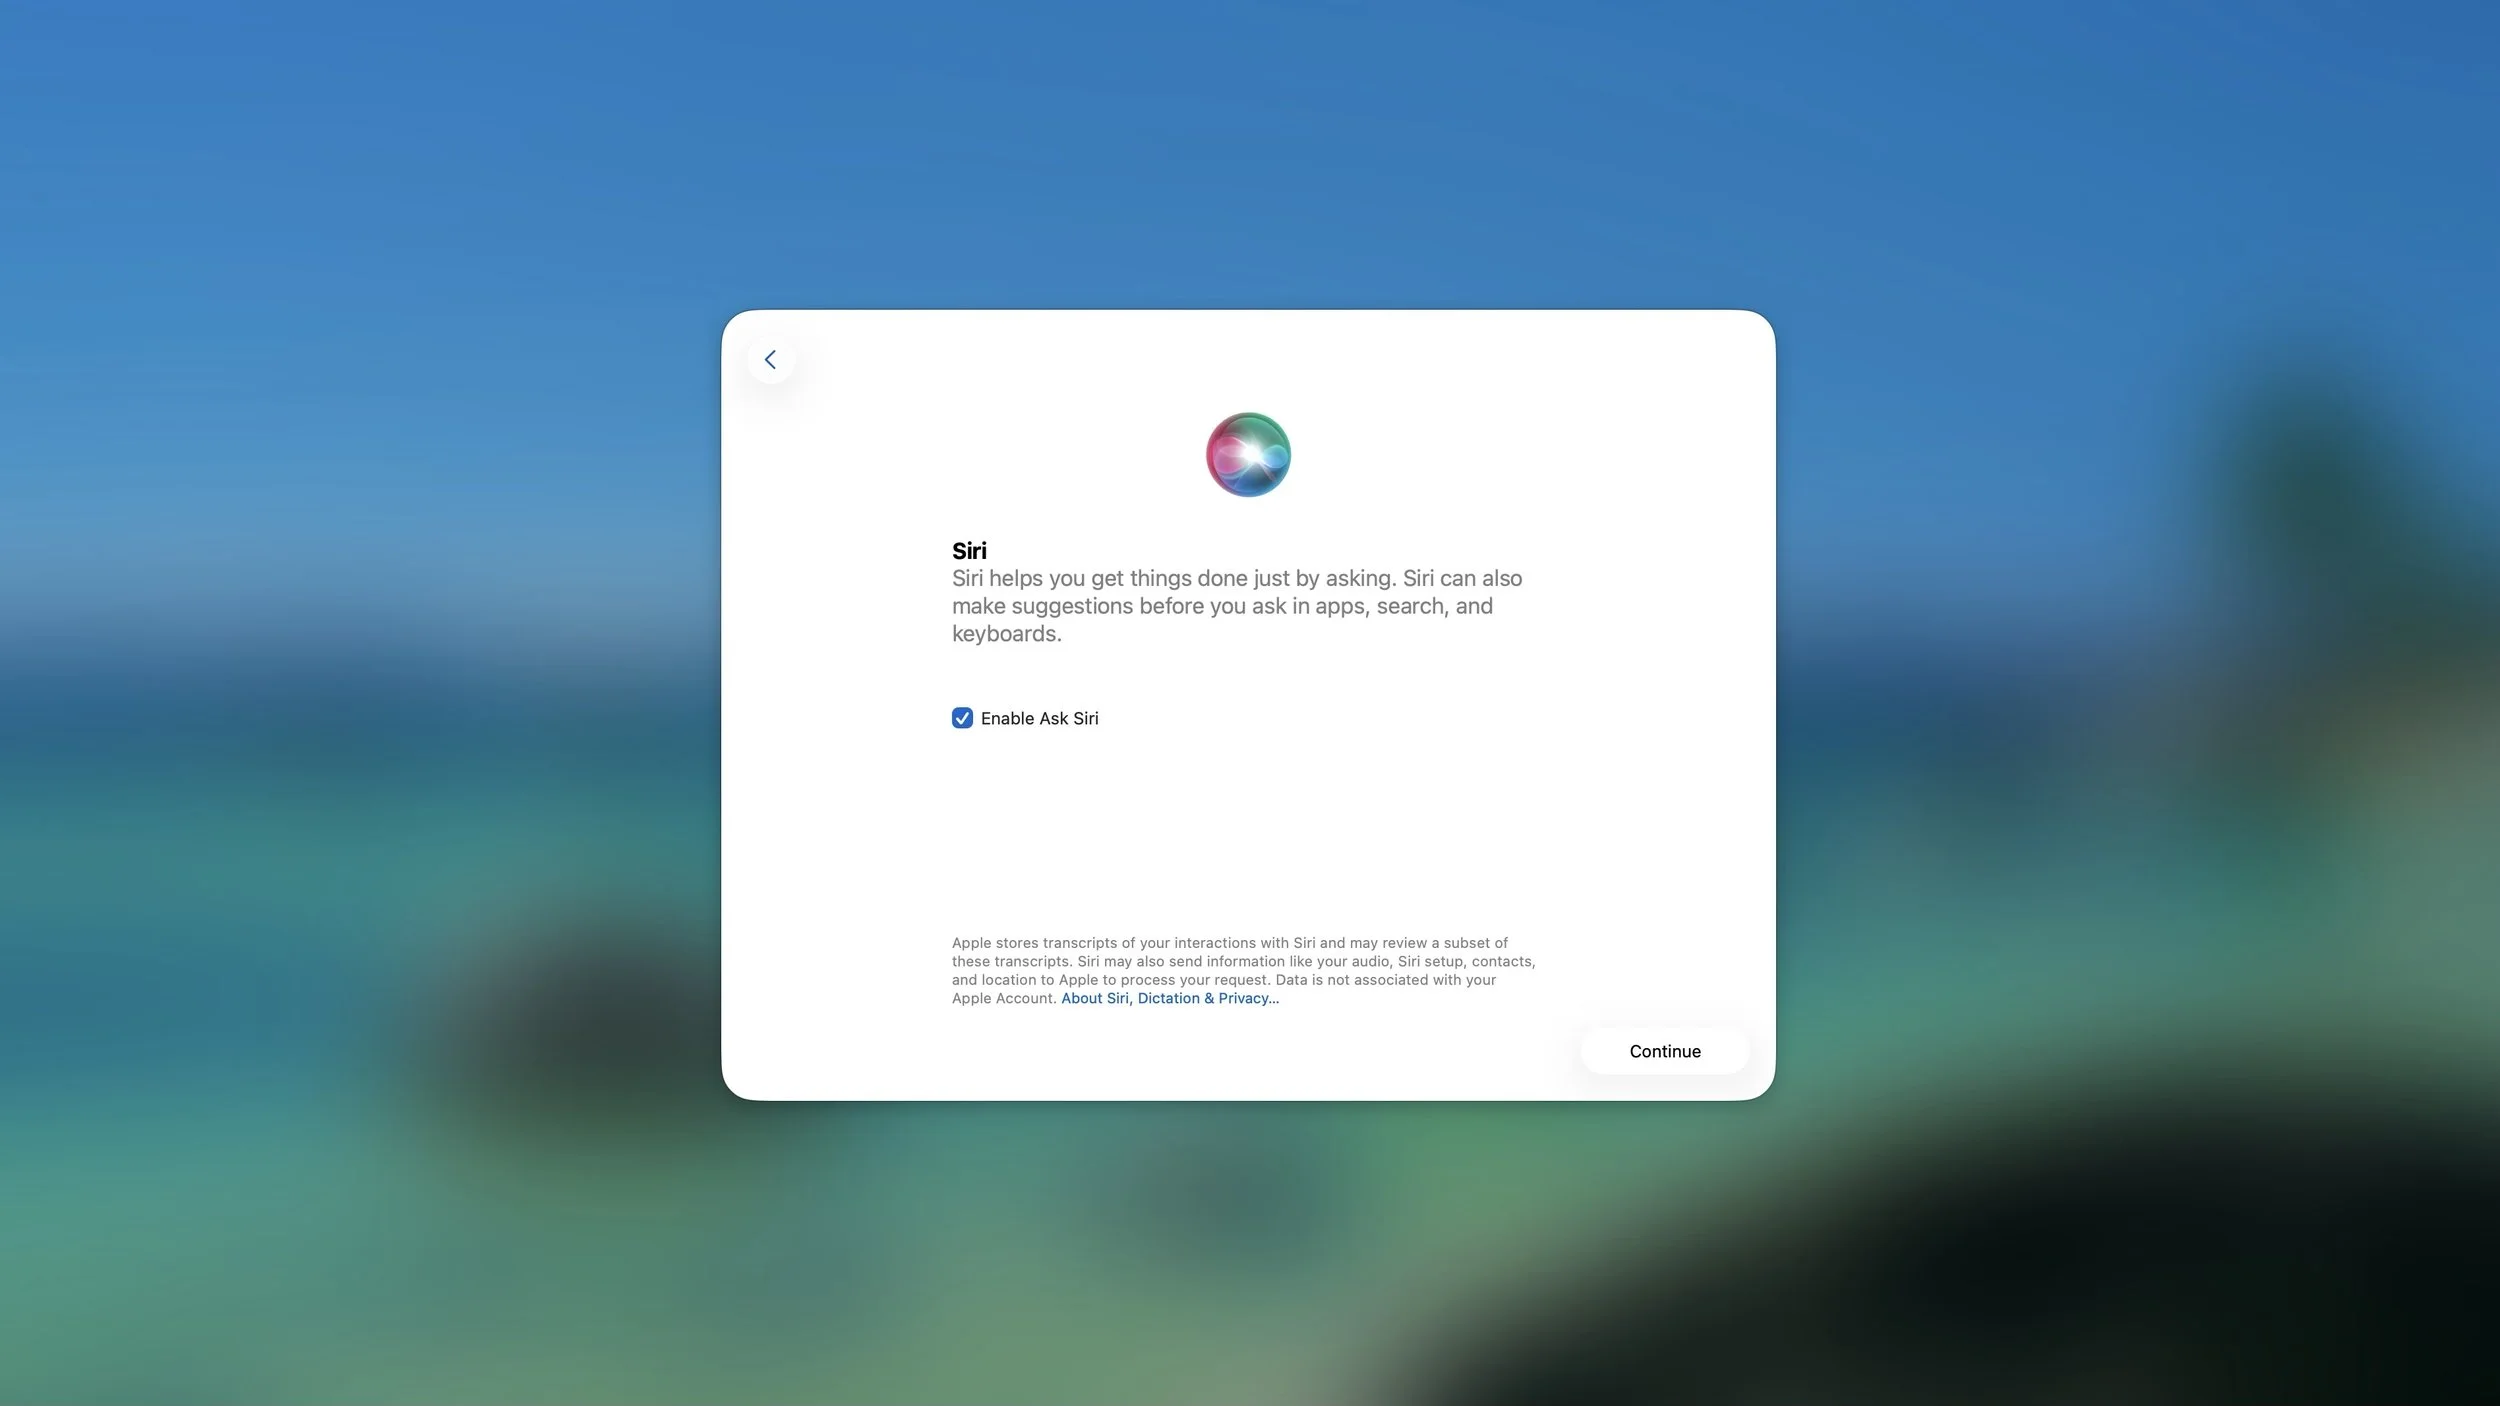
Enable Ask Siri. This is up to you but you might as well set it up if you ever use Siri. This does not mean Siri is always listening. That is a different feature called "Enable Hey Siri". This just allows you to use Siri when you click the Siri button. You can adjust this later in Apple menu > System Settings > Siri & Spotlight.
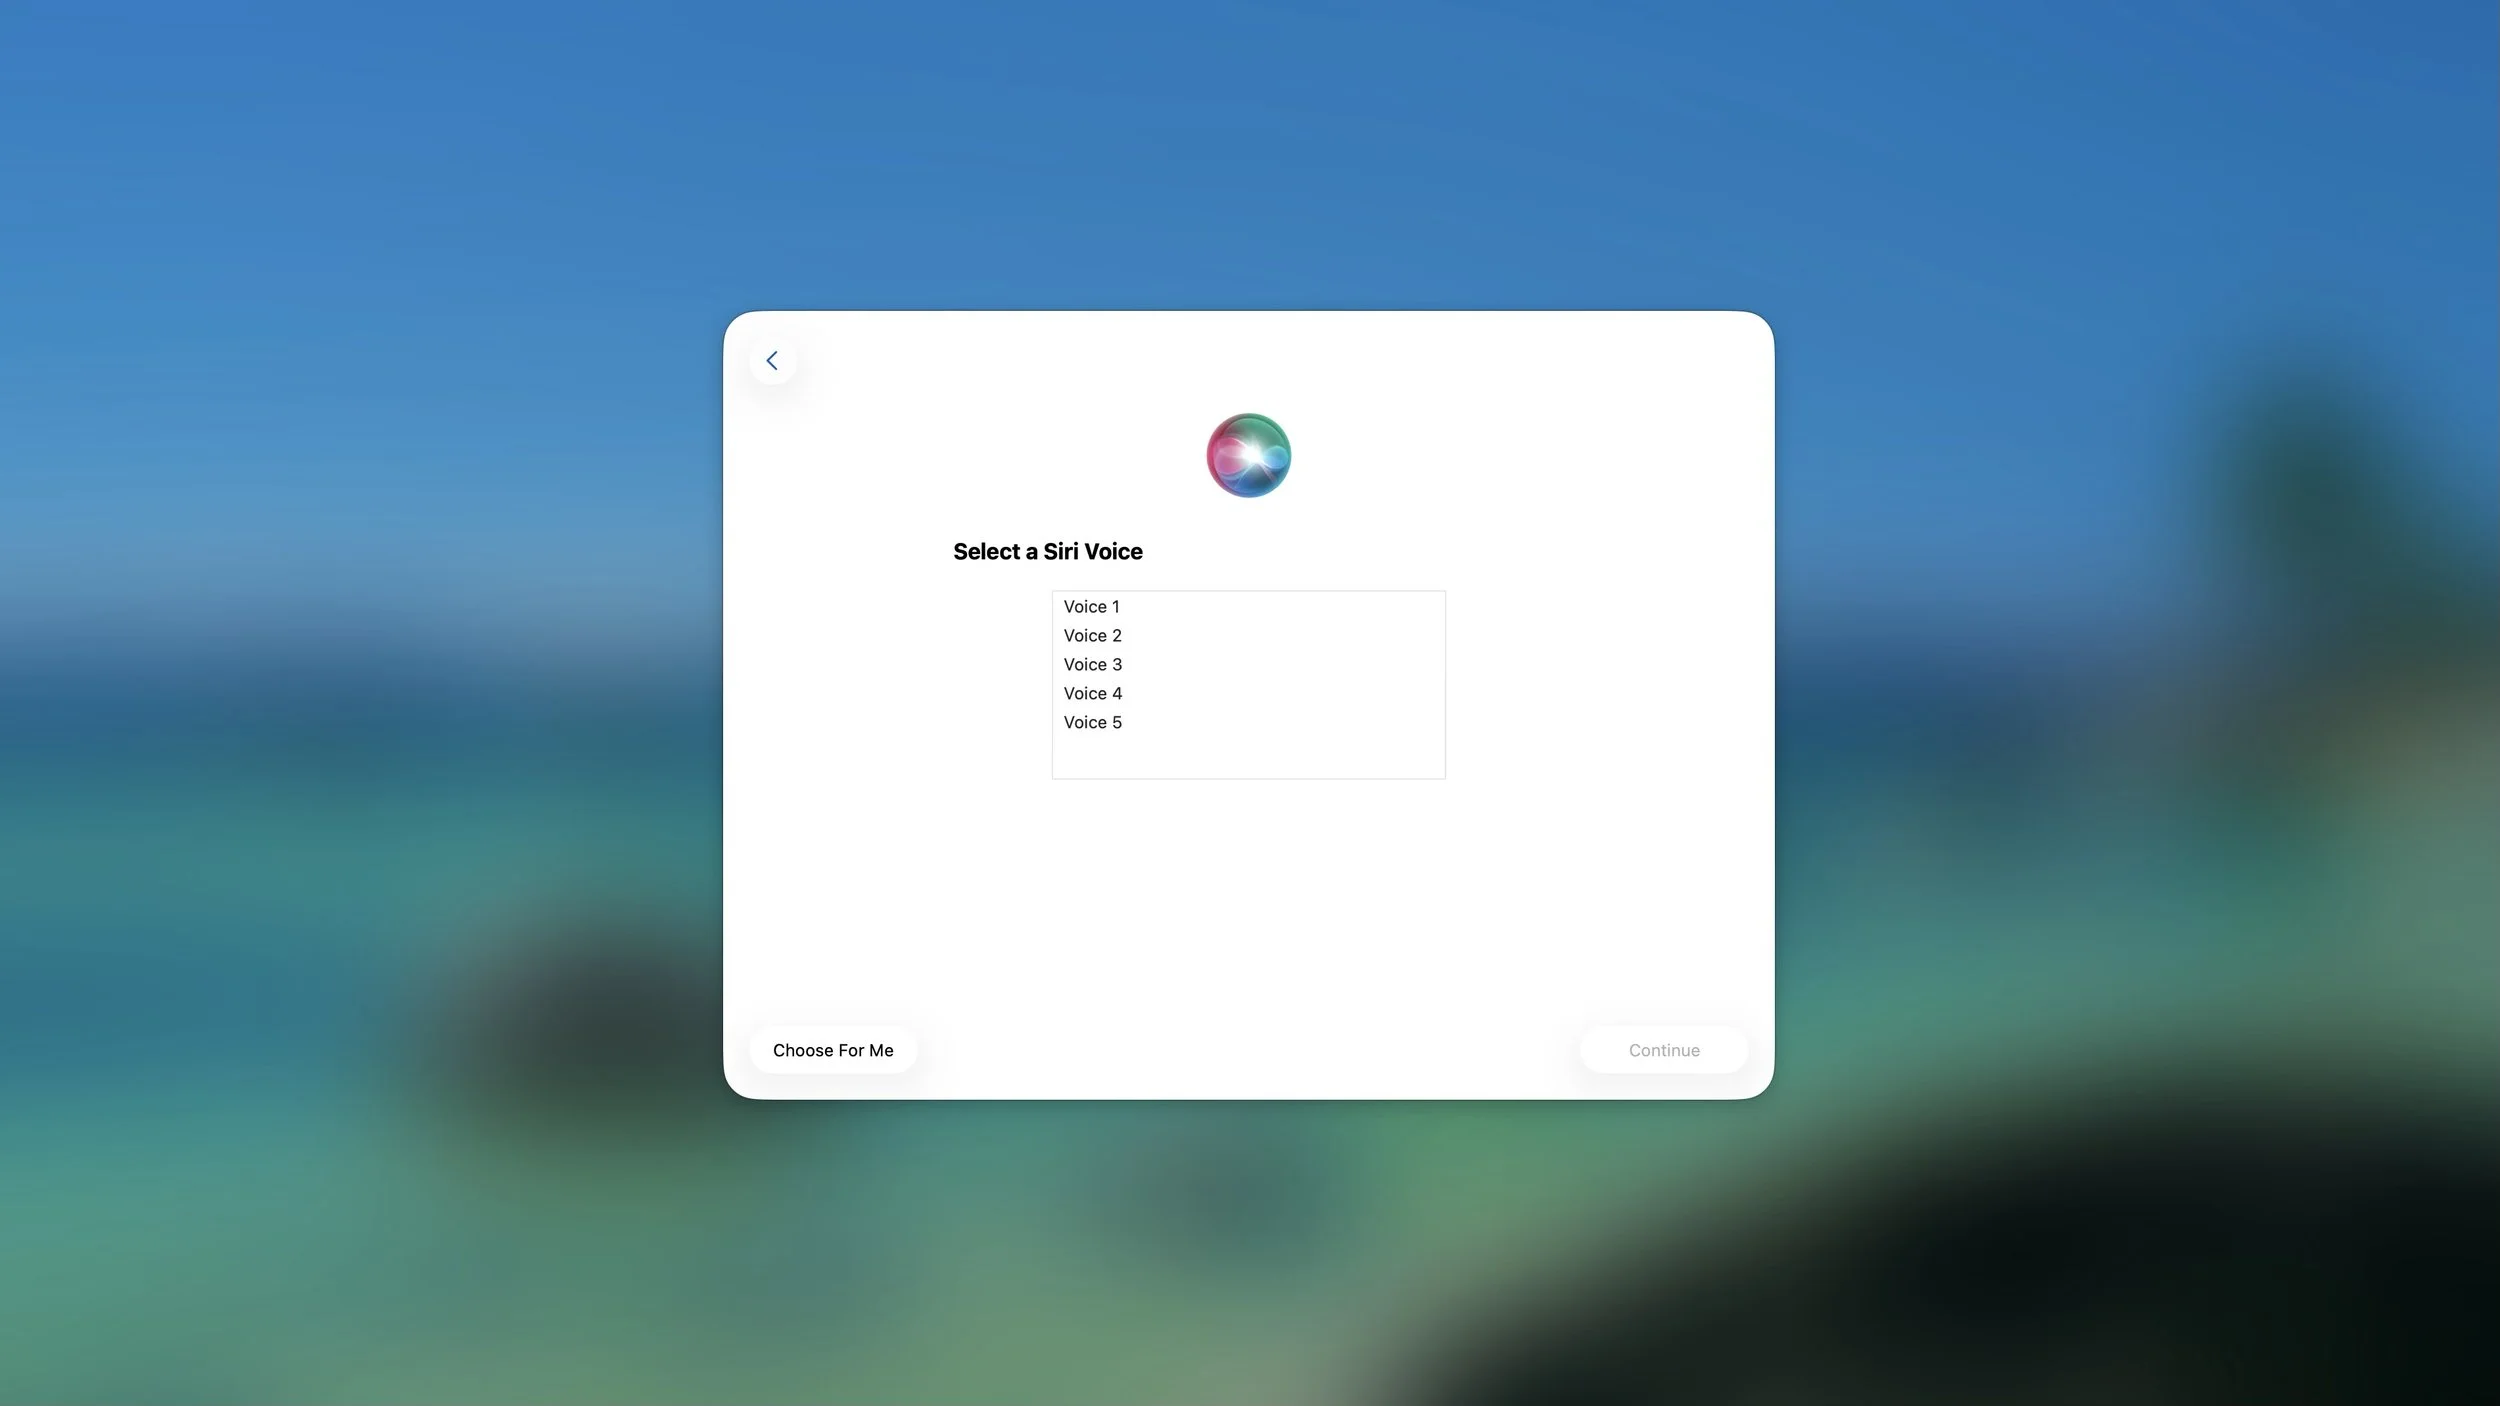
Select a Siri Voice. Click on each one to hear what it sounds like. You can adjust this later in Apple menu > System Settings > Siri & Spotlight > Siri voice.
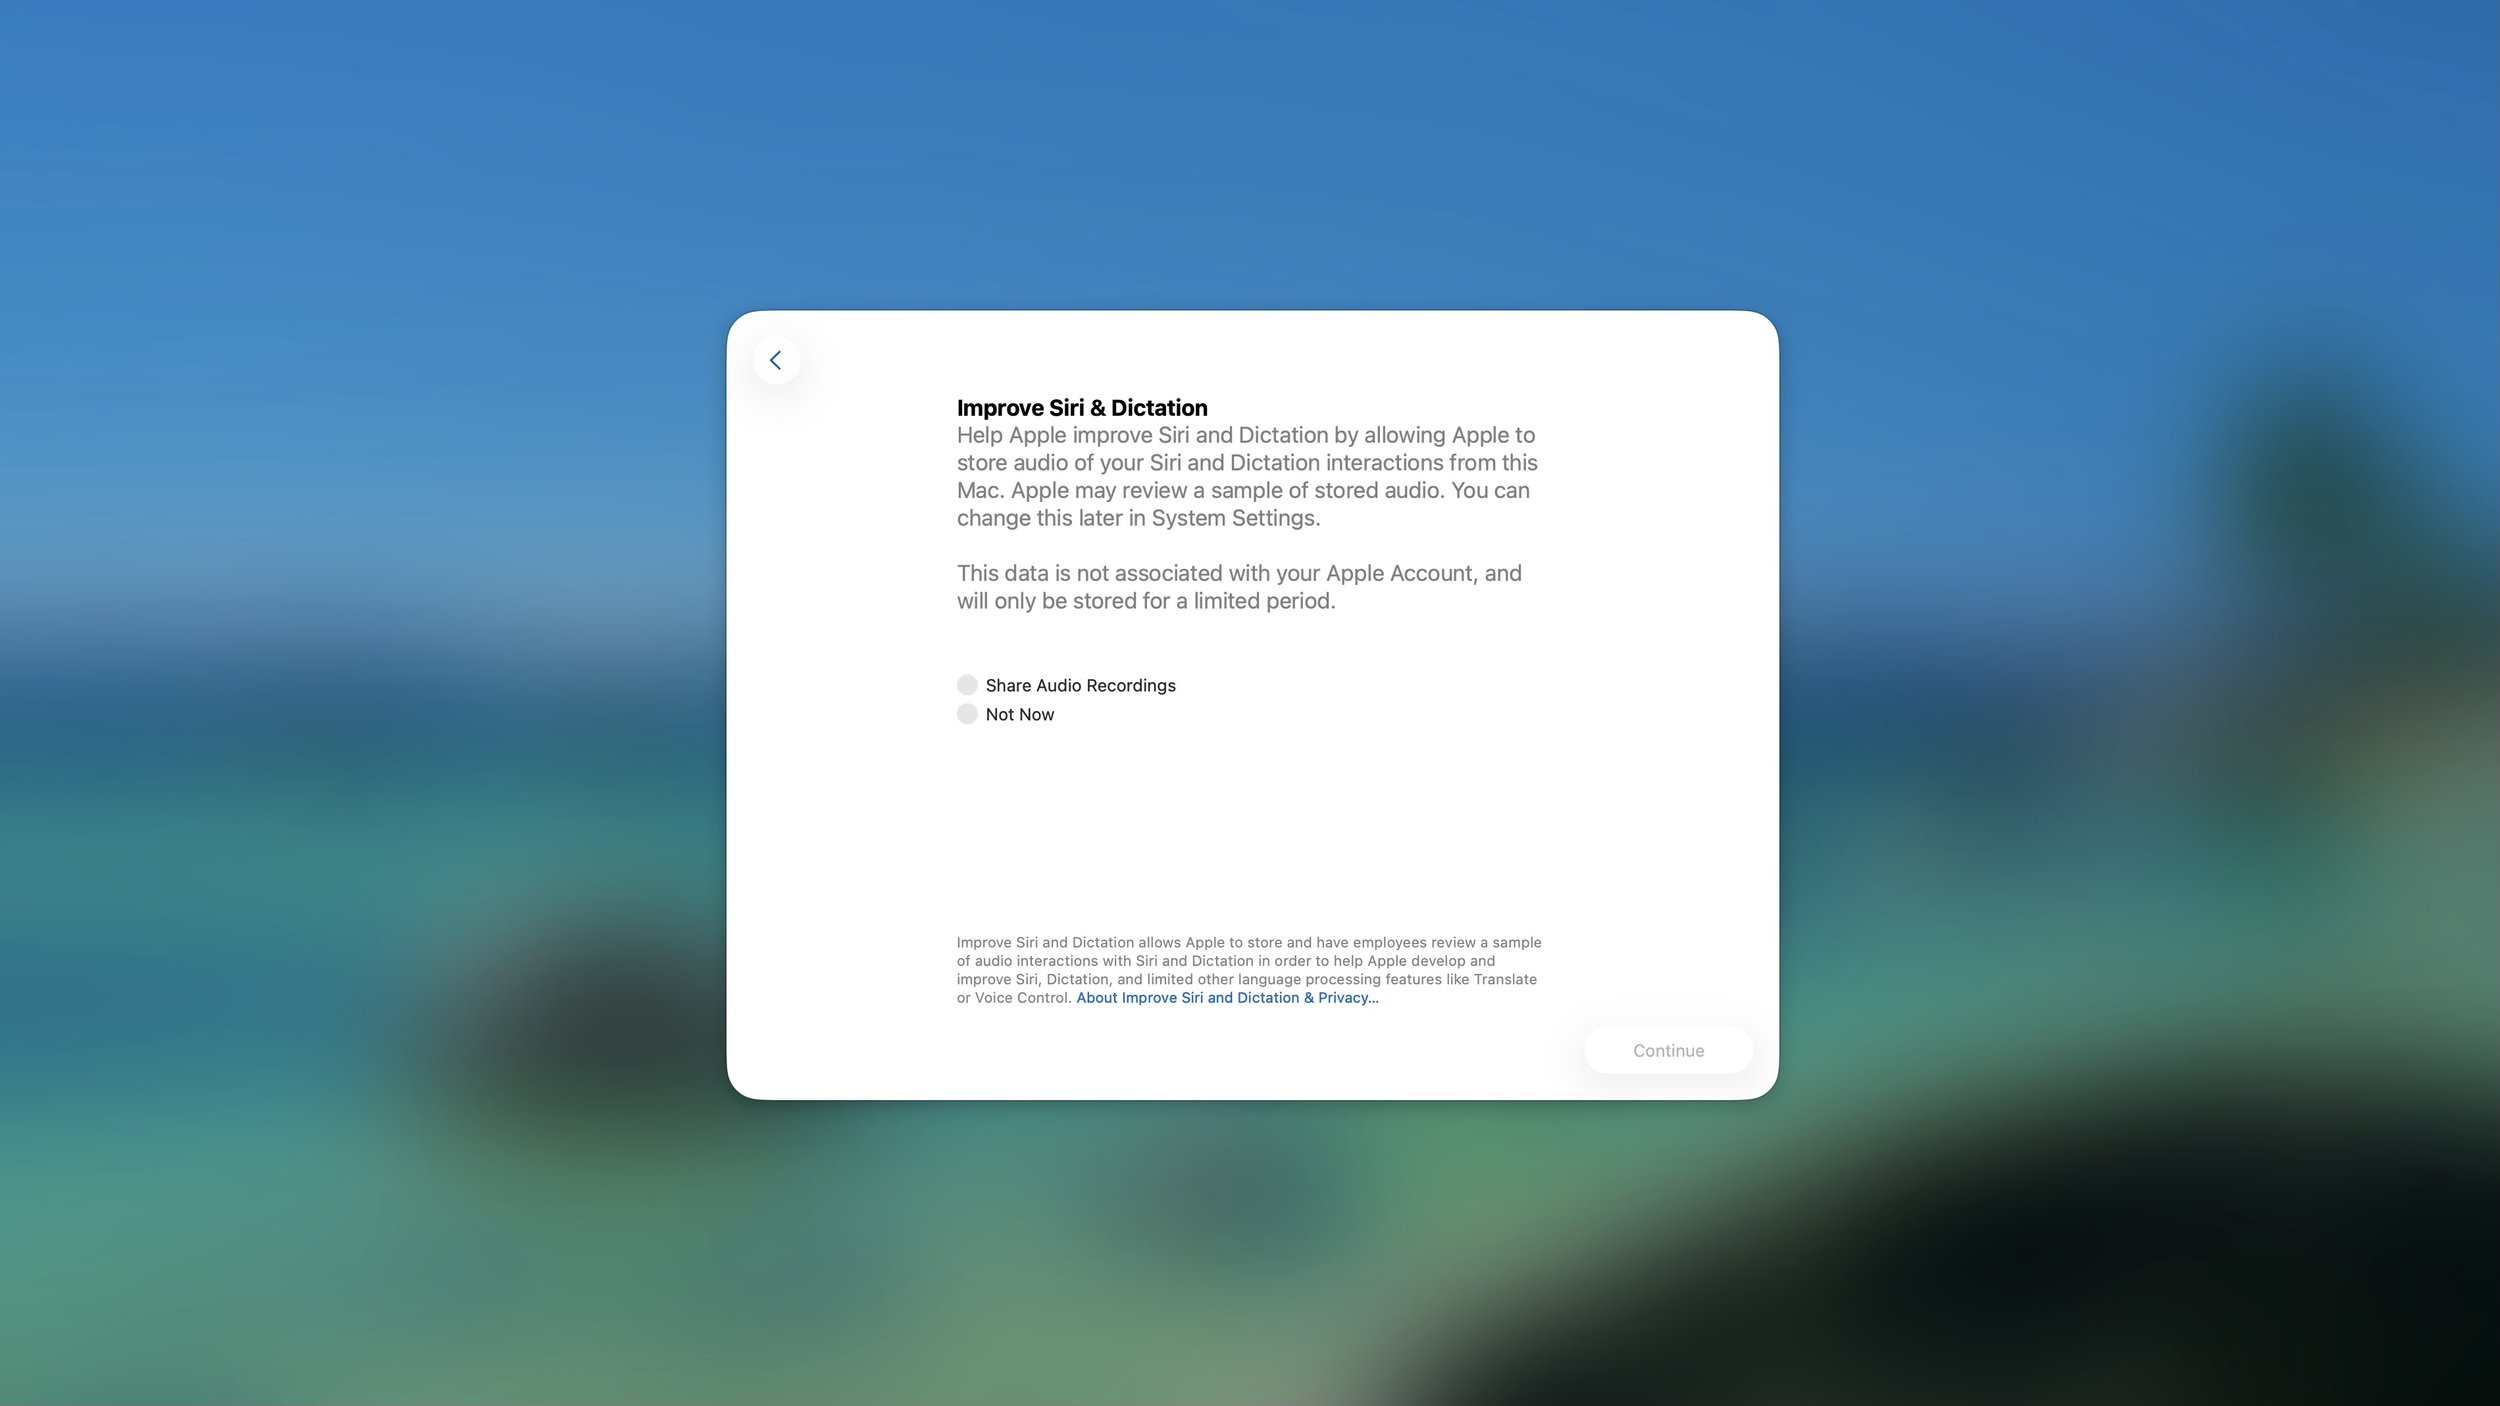
Improve Siri & Dictation. Enabling this will share anonymous voice recordings with Apple for analysis to improve Siri in the future. Whatever you choose here will not affect how your computer operates. You can change this later in the Apple menu > System Settings > Privacy & Security > Analytics & Improvements > Improve Siri & Dictation.
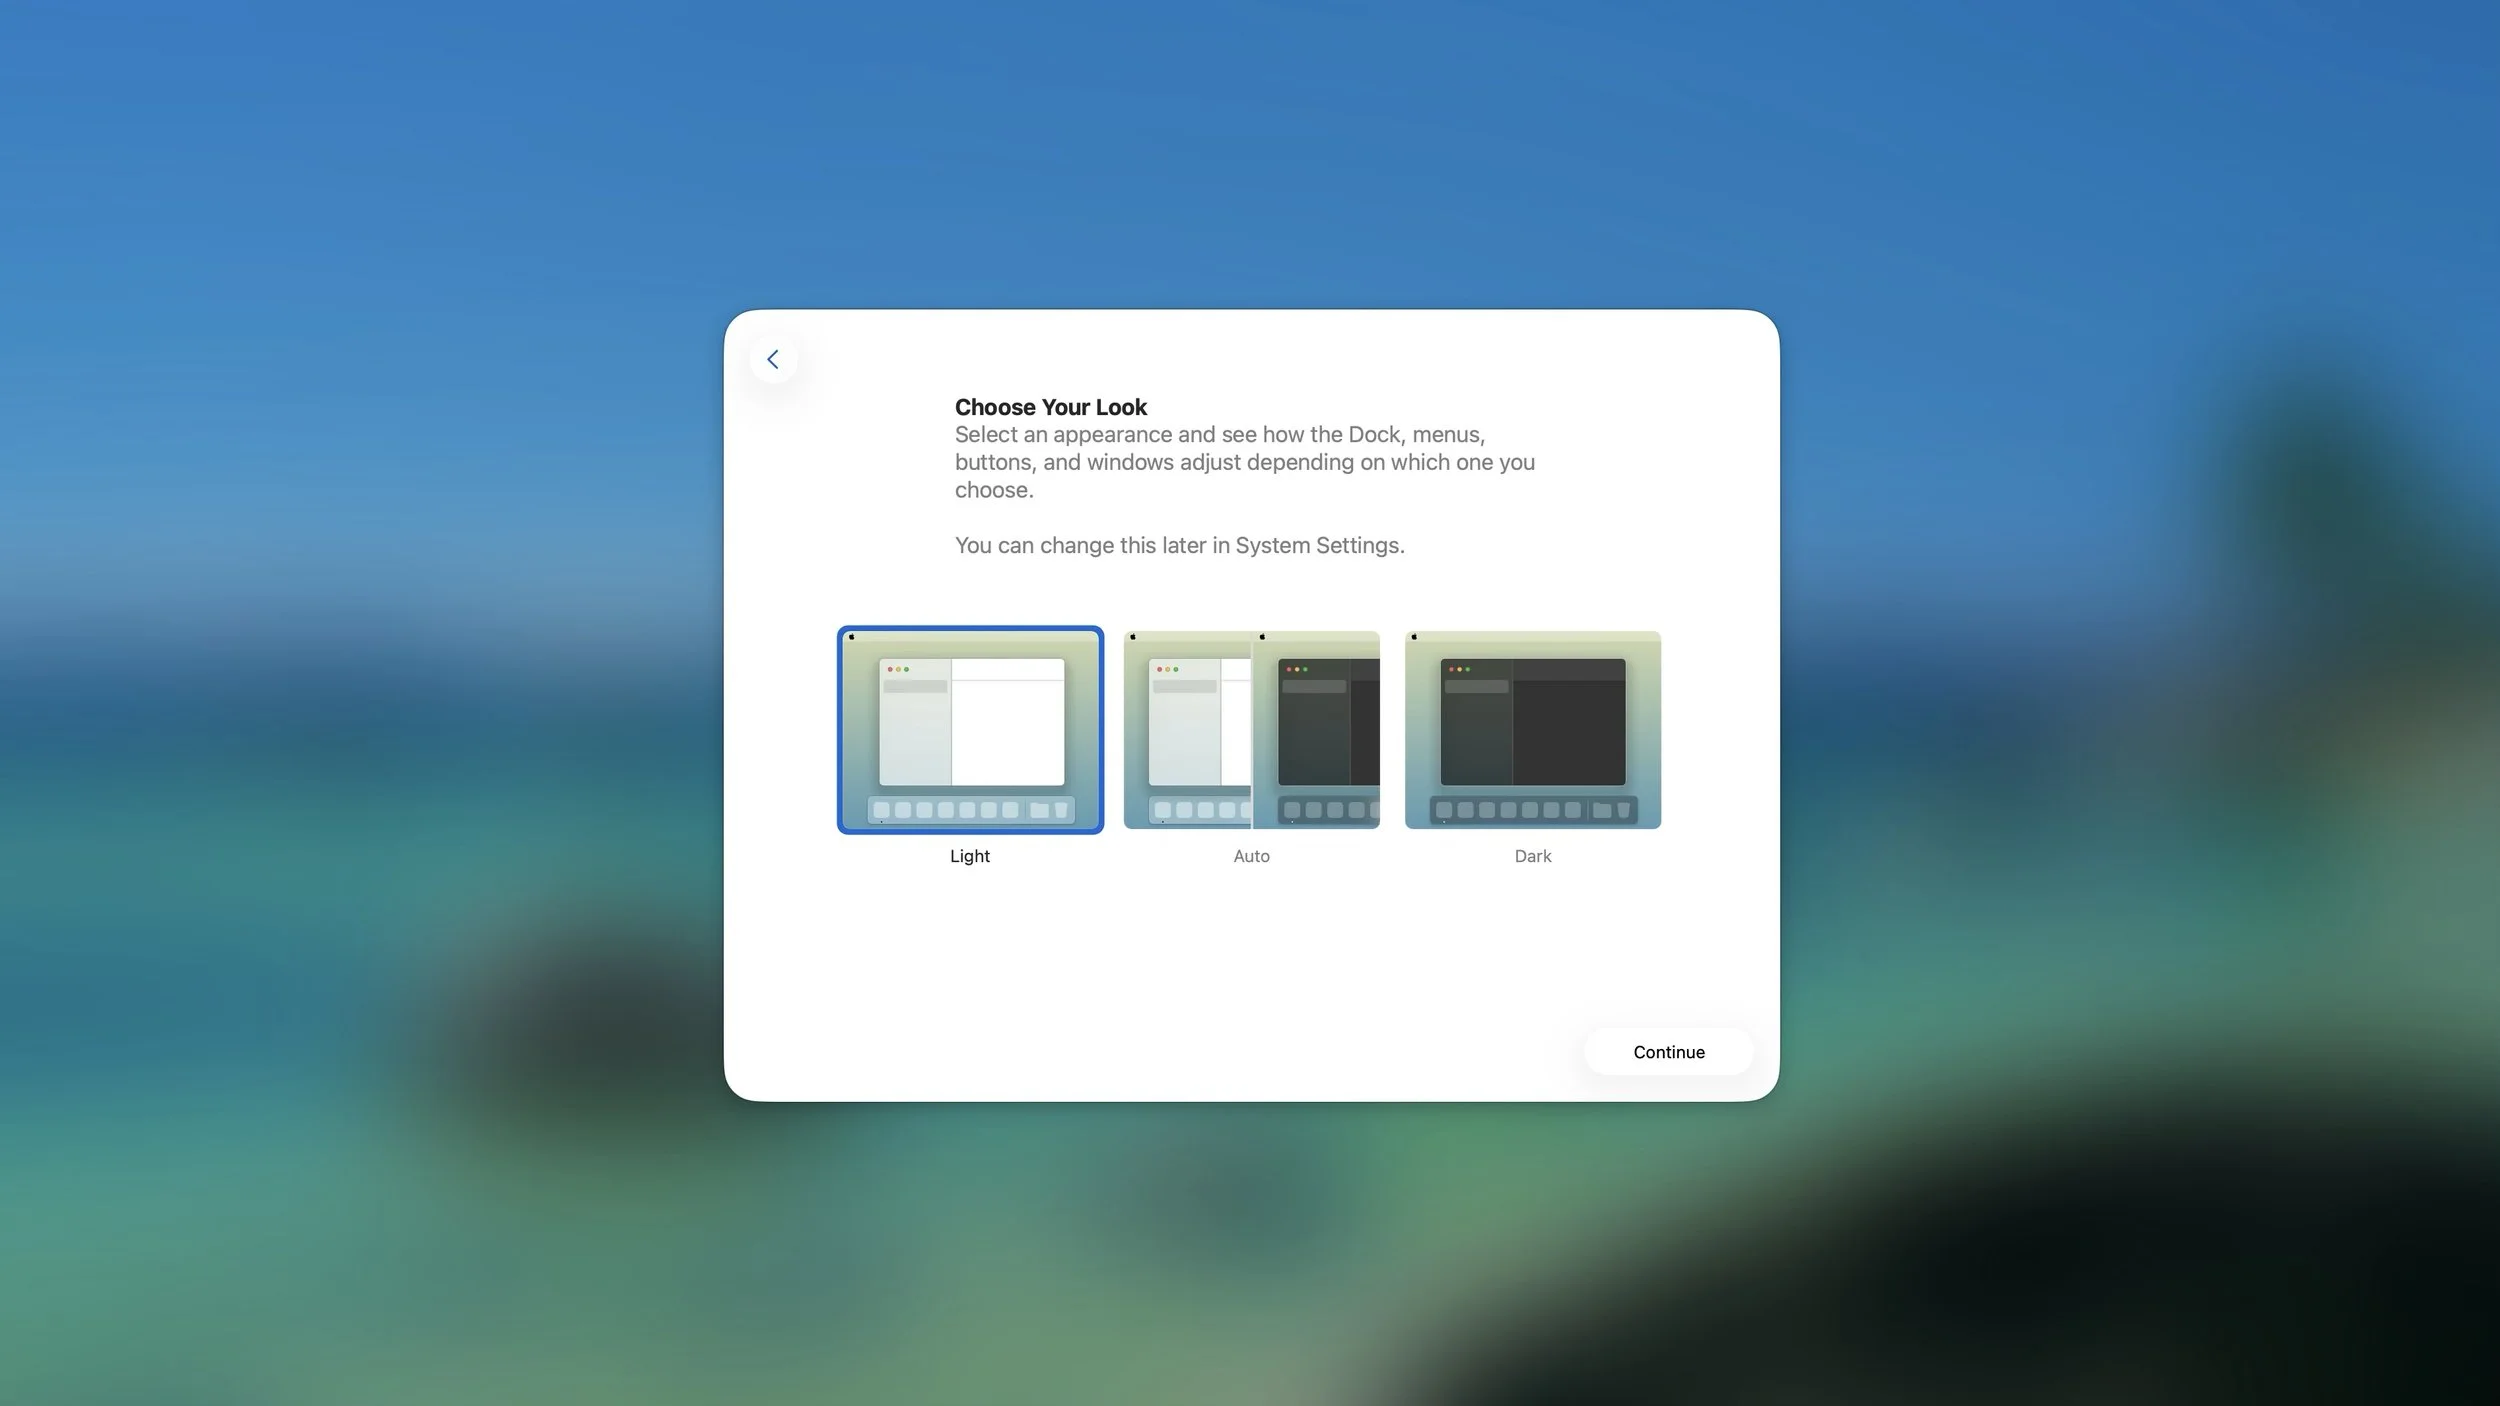
Choose Your Look. Most people operate in "Light" mode so if you are unfamiliar that is probably the option you want to choose. Dark mode flips many of the colors so you have light text on dark backgrounds. Some people find it to be easier on the eyes or photo editors often find that it makes their images easier to see. You can also choose Automatic so that it switches automatically at sunset and sunrise. You can change this in the future in Apple menu > System Settings > Appearance.
Once you are logged in
Install Rosetta if prompted. Older apps sometimes need a translation program called Rosetta to run on a newer Mac. You will be prompted to install it the first time it is needed. There is no reason not to. Honestly, I'm not sure why this isn't just preinstalled.
Update your computer. I know it may sound silly to have to update your brand-new computer, but Apple releases updates every month or two, and there is a good chance that a new update has been released since your computer was manufactured. To check, go to the Apple menu > System Settings > General > Software Update. If it says you are up-to-date, then leave the window open for about 10 to 20 seconds just to be sure it doesn't change its mind. I suggest you go ahead and update before continuing with the remaining steps, as they will be more likely to go smoothly.
Reconnect your Internet Accounts if necessary. Go to the Apple menu > System Settings > Internet Accounts. You will see a list of all accounts attached to Mail, Calendar, Contacts, Reminders, and Notes. Go through the accounts one by one. When you click on one, it may pop up asking you to re-enter your password. If it does, go ahead and do so, granting full permission. If the sign-in does not pop up, just continue to the next one.
Activate Microsoft Office if you use it. Simply open up a Microsoft Office program such as Word or Excel, and click the button to activate. You will be asked to log in using your Microsoft account. Your Office license is attached to your Microsoft account, not to your computer, so you can easily activate it without buying a new copy, assuming the version you have is compatible with your new Mac.
Activate Adobe Creative Cloud if you use it. Just open up one of the Adobe CC apps, and you'll be prompted to sign in using your Adobe ID. It might prompt you to reinstall Creative Cloud, which you can easily do just by following their steps.
Sign in to Dropbox if you use it. The Dropbox login screen will appear every time you restart your computer until you log in or uninstall it.
Test your printer and scanner, if you have them. Sometimes the software you have for those is not compatible with your new computer. Better to find out now rather than in a couple of weeks when you must print something immediately. This is becoming less of a problem with recent updates, but you should check anyway.
Test each program that you rely on. There could be apps that you use that are either not compatible with your new computer or need to be reactivated or reinstalled. Go through each of the apps that you know you use and see if they are all behaving normally.
Inherit existing backups. If you normally connect a wired backup drive to your computer, go ahead and plug it into your new computer. Once you do that, or if you have a wireless drive, your new computer at some point should ask you if you wish to inherit the existing backup. Click the Inherit button. Once you do that, your old computer will no longer back up to that drive.
Erase your old computer. Once your data has been copied to your new computer, you can continue to use your old computer if necessary, but I strongly discourage it because even though some things will sync, other things will not. You may end up with different files on different computers. In most cases, my recommendation is that you wait for a week or two just to be sure that your new computer is working to your liking, and then erase your old computer using my instructions.
Recycle or trade in your old computer. You can take an old Mac to an Apple Store. If they offer credit for it, they can either give you credit with Apple (which can be used for purchases or applied to your Apple Account so that if you have any charges from iCloud like your monthly storage it will come off of that), or they can use it to partially refund a recent purchase like your new computer. I don’t recommend keeping it lying around “just in case”. Especially if it’s a laptop computer with a battery. Rechargeable batteries, if left unchecked, can start to chemically break down. If they burst, lithium can cause a really terrible chemical fire. This is why you aren’t supposed to put rechargeable batteries in your checked luggage on the plane. If it still has some life left in it and you aren’t trading it in, consider giving it to someone who needs a computer.